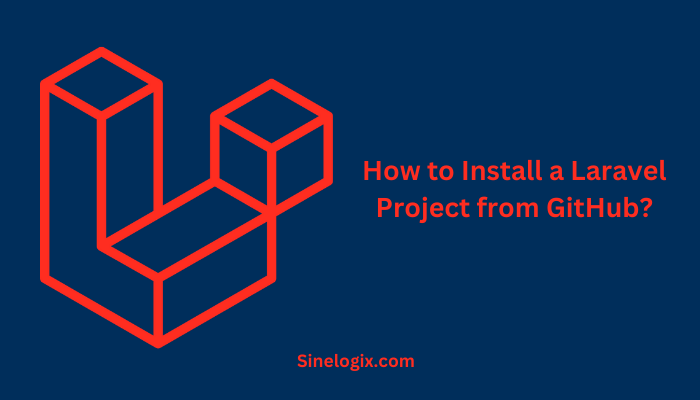
Laravel, a popular PHP web application framework, has gained a massive following due to its elegant syntax and feature-rich environment. When starting a new Laravel project, you don’t always have to begin from scratch.
Many Laravel projects are shared on GitHub, a web-based platform for version control and collaboration, making it easy to access and install existing projects.
In this detailed guide, we will walk you through the step-by-step process of installing a Laravel project from GitHub, enabling you to leverage open-source contributions and accelerate your development process.
Why Install Laravel Projects from GitHub?
Before we delve into the installation process, it’s crucial to understand the benefits of installing Laravel projects from GitHub:
- Time-Saving: Leveraging existing projects from GitHub can save you a significant amount of time, as you don’t need to set up the project structure and configuration from scratch.
- Community Collaboration: GitHub is a hub for open-source contributions, so you can access and collaborate with a vast community of developers and benefit from their expertise.
- Code Quality: Projects on GitHub often undergo peer reviews, ensuring code quality and reducing the chances of errors.
- Version Control: GitHub provides version control, enabling you to keep track of changes and collaborate with team members effectively.
How to Setup Laravel Projects from GitHub?
Now, let’s explore the step-by-step guide on how to install a Laravel project from GitHub.
Step 1: Prerequisites
Before installing a Laravel project from GitHub, ensure you have the following prerequisites in place:
- Git: Install Git on your system if you haven’t already. You can download Git from the official website (https://git-scm.com/downloads) and follow the installation instructions for your operating system.
- Composer: Composer is a dependency manager for PHP and is essential for Laravel projects. Download Composer from the official website (https://getcomposer.org/download/) and install it following the provided instructions.
- PHP: Ensure you have PHP installed on your system. Laravel typically requires PHP 7 or higher.
Step 2: Choose a Laravel Project on GitHub
Navigate to GitHub (https://github.com) and search for Laravel projects. You can use the search bar and keywords like “Laravel” to find projects that suit your needs. Once you’ve identified a project you’d like to install, follow these steps:
- Access the GitHub Repository: Click on the project’s name to access its repository on GitHub. You’ll find information about the project, its codebase, and other details.
- Fork the Repository: To install the project, you first need to fork the repository. This creates a copy of the project in your GitHub account, allowing you to make changes without affecting the original repository. Click the “Fork” button in the top right corner of the repository page.
Step 3: Clone the Repository
Now that you have forked the repository, it’s time to clone it to your local machine. Cloning a repository means you’re downloading the project’s code and files to your computer. Follow these steps:
- Copy the Repository URL: On the repository’s main page, click the “Code” button, which will open a dropdown. Copy the URL provided in the “Clone” section. It should look something like this:
https://github.com/your-username/repository-name.git. - Open Your Terminal or Command Prompt: Navigate to the directory on your computer where you want to store the project. Use the
cdcommand to change to your preferred directory. - Clone the Repository: In the terminal or command prompt, run the following command, replacing the URL with the one you copied:
git clone https://github.com/your-username/repository-name.git
This command will clone the project to your local machine.
Step 4: Install Composer Dependencies
After successfully cloning the repository, navigate to the project directory using the cd command. Then, install the project’s Composer dependencies by running:
composer install
Composer will read the composer.json file in the project and download all the necessary packages and dependencies.
Step 5: Set Up the Environment
Most Laravel projects require environment-specific configurations. Follow these steps to configure your project:
- Copy the Environment File: Laravel projects typically have a
.env.examplefile that contains configuration settings. Create a copy of this file and rename it to.env:cp .env.example .env
- Generate an Application Key: Laravel uses an application key for encryption. Generate a unique key by running:
php artisan key:generate
- Configure the Database: Open the
.envfile in a text editor and configure your database settings. You will need to set values forDB_CONNECTION,DB_HOST,DB_PORT,DB_DATABASE,DB_USERNAME, andDB_PASSWORD. - Run Database Migrations: Many Laravel projects use database migrations to create the necessary database tables. Run the migrations with the following command:
php artisan migrate
Step 6: Serve Your Laravel Project
Once you have completed the setup, you can serve your Laravel project using the following command:
php artisan serve
This command starts a local development server, and you can access your project in your web browser by visiting the URL provided (usually http://127.0.0.1:8000/).
Step 7: Further Development
Now that your Laravel project is successfully installed and running, you can start working on your application. You can make changes, add features, and customize the project according to your needs.
Laravel provides a comprehensive set of tools and features, including Eloquent ORM, Blade templating, and various packages and libraries to streamline your development process.
As you continue to develop, make sure to commit your changes to your forked repository on GitHub. This allows you to keep a version history and collaborate with others effectively.
Related Articles:
Conclusion
In this comprehensive guide, we’ve walked you through the process of installing a Laravel project from GitHub. Leveraging open-source projects on GitHub can save you time, provide you with quality code, and connect you with a vast community of developers.
By following the steps outlined in this guide, you can quickly set up a Laravel project on your local machine, configure the environment, and begin working on your web application.
Whether you’re starting a new project or collaborating with others, GitHub is a valuable resource for Laravel developers. Happy coding!